Up-cycled Shoes: The Tutorial And How To Create Some For Yourself!
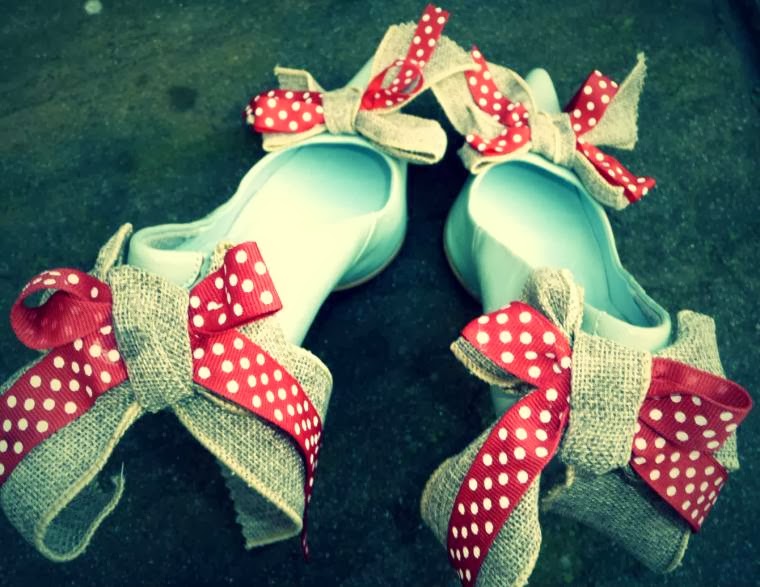
Hello friends. Take some plain boring shoes and make them into a party, wedding guest, cruise ship, cocktail party, or just cheer me up shoes.
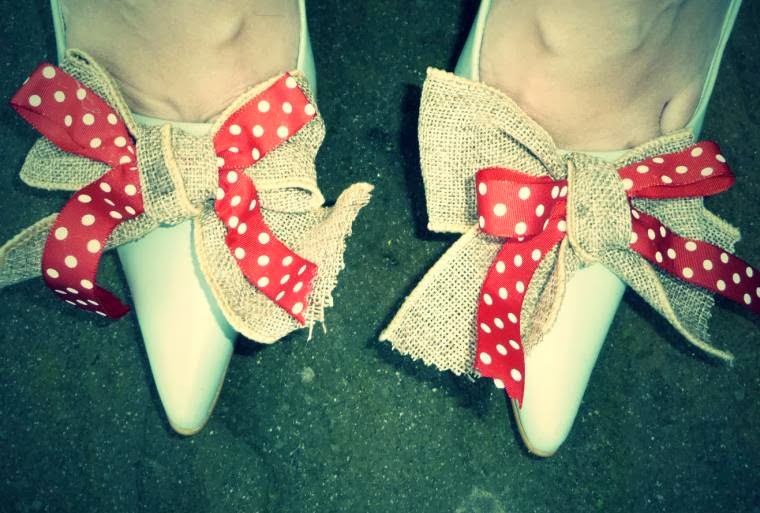
Yeah, I love these!!


Up-cycled Shoes: The Tutorial And How To Create Some For Yourself!
Thanks to everyone who commented on my up-cycled shoes I posted last week. If you missed it you can see it here~ Up-cycled shoes.
As a few of you have been asking how I achieved this look I thought I would do a tutorial 🙂
Up-cycled Shoes: The Tutorial And How To Create Some For Yourself!
You will need ~
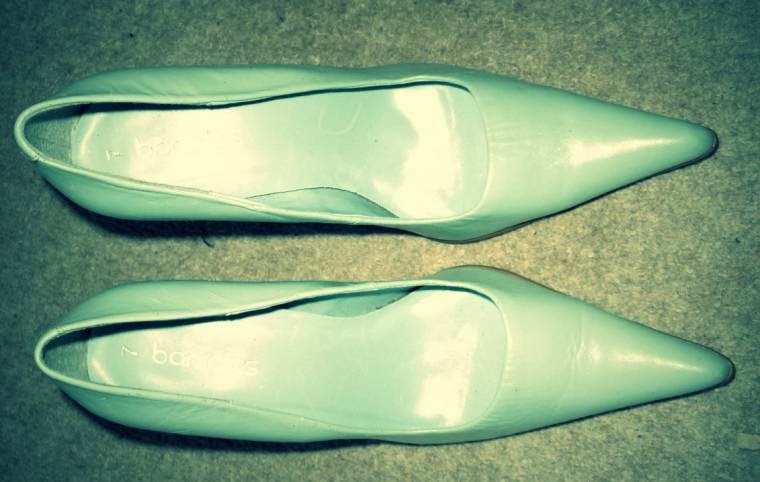
Some shoes you never wear (just in case they don’t turn out how you would have liked!!)
2 different styles of ribbon
I used 18 inches of plain and 18 red polka dot for toe bows x2
22 inches of plain and 22 inches of polka dot for heel bows x2
Good quality glue ( modge podge is suppose to be the best but I never had any when up-cycling these ( I do have some now so will let you know how my next ones turn out)
Also:
Some pinking shears to cut your bows so not to fray.
Newspaper to place on flour to catch the glitter and glue
plastic gloves for glueing
Pegs for holding things together when the glue is drying

Up-cycled Shoes: The Tutorial And How To Create Some For Yourself! What To Do:
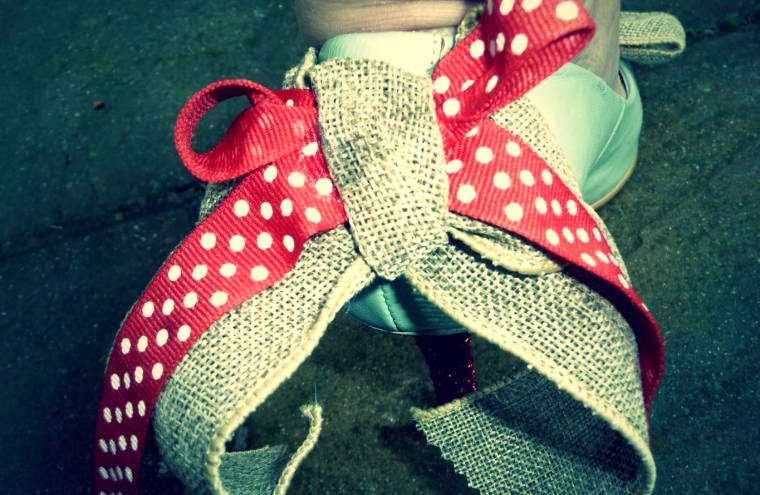
Make up all the 4 bows for the front of the shoes.
I used 18 inches of plain ribbon x 2, 18 inches of patterned ribbon x 2.
Slightly loosen the plain bow and slide the patterned bow under the knot, pull tight again.
Repeat this with the other front bows.
Place a blob of good quality glue under the knots and down the ribbon to hold both ribbons together.
Place plastic pegs on the ribbons where you have glued them to hold the ribbons together and set aside to set.
Repeat with the back bows, I used 22 inches of ribbons for longer bows.
Brush some glue on the heels of your shoes covering little areas at a time.
Place some paper underneath to catch the glitter.
Sprinkle the glitter over the glued area.
Then repeat.
Use the glitter that is on the paper, every other time to make sure no glitter is wasted.
A good glue like Modge Podge is best for this as it glues and seals if you buy the right one.
I did not have any at the time but will now be sealing the glittered heels so not to loose any of it when walking.
Leave the heels to dry.
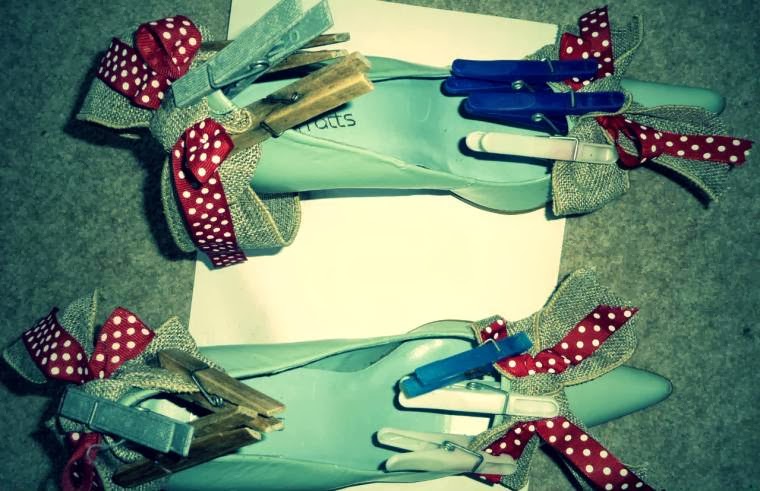
One the heels and bows are dry place the bows on the shoes.
Place glue all over the backs of the bows and stick to the shoes.
Clip the pegs over the bows to hold in place until set.
Up-cycled Shoes: The Tutorial And How To Create Some For Yourself!
So what do you think?
Did you see: Silent Sunday: Now What To Make With This Cath Kidston Material!?

What a brilliant idea! As a high heel lover, I am most definitely a fan of this idea. Upcycled shoes? Genius idea!You've inspired me. Thanks so much. #AllAboutYou
Author
Aww thanks for the lovely comment 🙂
So easy but so super looking!! X
Author
Thanks Kezzie, I'm glad you found the tutorial 🙂
I am so in awe of you, maybe one day I will be able upcycle shoes and make them look so wonderful. Thanks so much for linking up to #AllAboutYou, just off to pin this to the #AllAboutYou Pinterest Board
Author
Aww thank you, thanks for the party too 🙂
What an amazing tutorial! I will give this a whirl. There's life in the old shoes yet. Linking up with #AllAboutYou
Author
Haha yes there is 🙂 thanks for the comment 🙂
Absolutely Fantastic! I love these, and also really love the idea of upcycling rather than chucking things out or buying new unnecessarily. Good job, and great tutorial, thanks so much for linking up with #AllAboutYou – and hope you can be back next week! Off to tweet this now x
Author
Aww thank you, ill be back next week 🙂
They look so awesome. I wish I had the confidence to wear vibrant and wild shoes. :)#AllAboutYou
Author
Thank you, I need somewhere fun to go now, to wear them 🙂
What a fab upcycling of heels! About to upcycle a chaise longue for our new place, getting a pro in but will be helping design! Visiting from #allaboutyou
Author
Whoo I bet it will be great, hope you get to blog about it ? 🙂
What a great idea I'm showing my daughter she would love it!
Author
Thanks for the comment, my daughter loves them 🙂
Fab idea. They look so funky!
Author
Ha, thank you 🙂
Great idea!
Author
Thanks Joanna 🙂
These are adorable! What a lovely idea =)Corinne xwww.skinnedcartree.com
Author
Aww thank you 🙂
Great idea, thanks for the tutorial x
Author
Thanks for stopping by 🙂